Are you tired of staring at those unsightly hairline cracks in your artex ceiling? Not only do they detract from the overall appearance of your room, but they can also be a constant source of annoyance. But fear not! Filling hairline cracks in an artex ceiling is easier than you might think.
Whether you’re a DIY enthusiast or a homeowner looking to save some money, this article will guide you through the seamless repair process. So, grab your tools and let’s get started!
Understanding Hairline Cracks in Artex Ceilings

Hairline cracks in artex ceilings often follow the lines of the underlying plasterboard. These cracks are typically straight and spaced at regular intervals, usually around 1200 millimeters apart. They are not usually a cause for concern unless there is significant movement or dampness in the area. The movement in the floor joists, which also serve as the ceiling, can lead to these cracks over time. Understanding the nature of the cracks helps in determining the appropriate repair method.
If you examine your artex ceiling closely, you’ll notice that the hairline cracks align with the plasterboard lines. These cracks tend to be straight and parallel to each other, following the pattern of the underlying plasterboard sheets. They are commonly spaced at a regular interval of approximately 1200 millimeters apart. The presence of these cracks is usually harmless, as they are a result of the natural movement in your floor joists, which also act as the ceiling structure. However, if there is significant movement or dampness in the area, it is essential to address the issue promptly to prevent further damage.
Understanding the characteristics of hairline cracks in artex ceilings is crucial in determining the most effective repair method. By recognizing that the cracks follow the lines of the underlying plasterboard, you can identify the specific areas that require attention. Whether you are planning to repair the cracks yourself or hire a professional, having this knowledge will help you address the issue with precision and ensure a seamless repair.
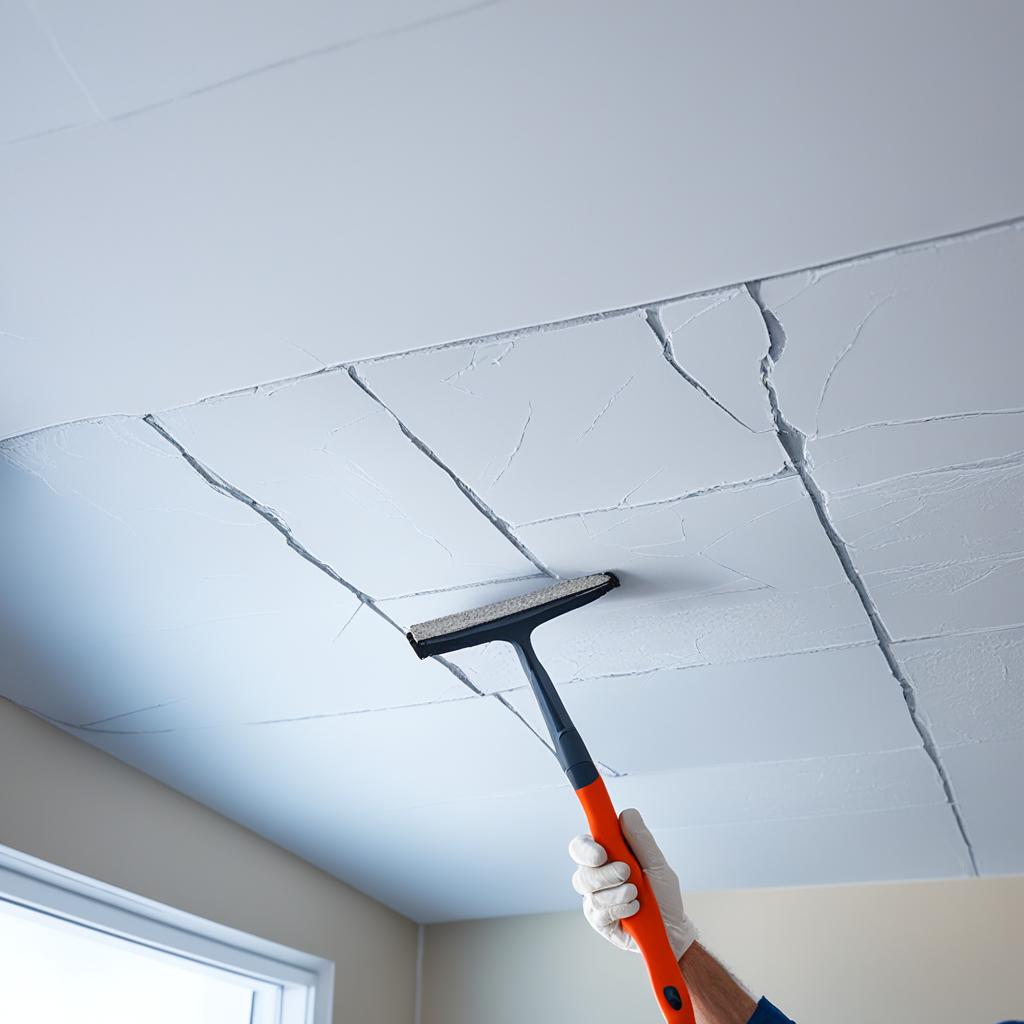
If you look closely at the image above, you can see an example of hairline cracks in an artex ceiling. The cracks align with the lines of the underlying plasterboard, indicating their connection to the structural movements below. This visual representation reinforces the importance of understanding the nature of these cracks and how they relate to the underlying structure of your artex ceiling.
Materials Needed for Repairing Hairline Cracks

To fill hairline cracks in an artex ceiling, you will need the following materials:
- Filler: Choose a suitable filler that is compatible with artex texture.
- Scraper Knife: This will be used to widen the crack and remove loose material.
- Scrim Tape: Used to reinforce the crack and prevent it from reappearing.
- Paintbrush: A stiff brush for stippling the filler and creating a seamless finish.
- Emulsion Paint: Use a matching paint color to blend the repaired area with the rest of the ceiling.
- Sandpaper: For smoothing the filled area before painting.
Note: The image above showcases the process of repairing hairline cracks in an artex ceiling.
Step-by-Step Guide to Filling Hairline Cracks in Artex Ceilings

Follow these steps to effectively fill hairline cracks in your artex ceiling:
-
Prepare the Crack:
Use a scraper knife to widen the crack, removing any loose material. Clean the area thoroughly to ensure proper adhesion of the filler.
-
Apply Filler:
Mix the filler according to the manufacturer’s instructions. Fill the crack, allowing the filler to sink into the crack while leaving a slight indent. Allow it to dry completely.
-
Repeat Filling Process:
Apply another layer of filler to the crack, working in small sections at a time. Use a wet paintbrush to create a stipple effect that mimics the texture of the surrounding artex. This will help blend the filled area seamlessly.
-
Allow to Dry:
Ensure that the filled area is completely dry before moving on to the next step. This may take a few hours depending on the filler used.
-
Sand the Filled Area:
Use sandpaper to smooth the filled area, ensuring a seamless finish. Sanding removes any excess filler and helps to blend it with the rest of the ceiling.
-
Apply Emulsion Paint:
Thin the emulsion paint with water and use a paintbrush to apply it onto the filled area. Blend it with the rest of the ceiling for a cohesive look. Allow the paint to dry and repeat the process if necessary.
In this step-by-step guide, you learned how to fill hairline cracks in artex ceilings. By following these simple and effective steps, you can achieve a seamless repair that restores the appearance of your ceiling. Remember to properly prepare the crack, apply the filler in layers, and sand the filled area before applying emulsion paint. With patience and attention to detail, you can successfully repair hairline cracks and enjoy a smooth, flawless artex ceiling.
Additional Tips for Repairing Hairline Cracks in Artex Ceilings
Here are some additional tips to keep in mind while repairing hairline cracks in artex ceilings:
- Use a professional painter: For more complex or extensive repairs, consider hiring a professional painter who specializes in artex ceilings. They have the expertise and tools to ensure a seamless and long-lasting repair.
- Refix loose plasterboard: If you notice any loose plasterboard around the area of the hairline cracks, it’s essential to refix them. Install additional screws to secure the plasterboard and minimize future cracking.
- Consider overboarding: In cases where the hairline cracks keep reappearing despite filling them, you may want to consider overboarding the entire ceiling. Overboarding involves installing new plasterboards over the existing ones and applying a fresh skim coat to achieve a smooth and crack-free surface.
- Thinning paint for better coverage: When it comes to painting over the repaired area, thinning the emulsion paint with water can help achieve better coverage. This technique ensures the filled area blends seamlessly with the rest of the ceiling.
- Regular maintenance: To prevent further damage and avoid extensive repairs in the future, it’s important to perform regular maintenance on your artex ceiling. Keep an eye out for any new hairline cracks and address them promptly using the proper repair techniques.
| Tips | Benefits |
|---|---|
| Use a professional painter | Hiring an expert ensures high-quality repairs and a seamless finish. |
| Refix loose plasterboard | Securing loose plasterboard minimizes future cracking and instability. |
| Consider overboarding | This long-term solution provides a fresh surface, eliminating recurring cracks. |
| Thinning paint for better coverage | Thinned paint ensures a smooth and well-blended appearance. |
| Regular maintenance | Promptly addressing new cracks prevents further damage and costly repairs. |
Can a Coat of Emulsion Paint Disguise Hairline Cracks?
While a coat of emulsion paint can help blend the filled area with the rest of the ceiling, it is unlikely to completely disguise hairline cracks in an artex ceiling. The texture and nature of the cracks may still be visible, especially if they are on the plasterboard joints. To achieve a seamless finish, it is essential to follow the proper repair steps and ensure the cracks are properly filled, sanded, and painted.
Will My Artex Ceiling Collapse Due to Hairline Cracks?
Hairline cracks in an artex ceiling are generally not a sign of imminent collapse. Unless there is significant movement or water damage, the chances of a ceiling collapsing are very slim. Artex ceilings are designed to be durable and resilient, capable of withstanding typical wear and tear over time.
It is important to note that hairline cracks in artex ceilings are often superficial and do not impact the structural integrity of the ceiling. These cracks are commonly caused by natural settling, temperature fluctuations, or minor movements in the building. They are usually harmless and do not pose any safety concerns.
However, if you notice any signs of significant movement, such as visible bulges, sagging, or continued expansion of the cracks, it is advisable to consult a professional to assess the situation. A qualified expert can help determine the underlying cause of the movement and provide appropriate recommendations for repair or reinforcement.
While hairline cracks in an artex ceiling are generally not a cause for immediate concern, addressing them promptly can help maintain the overall aesthetics of the ceiling. By following the proper repair techniques, such as filling and painting the cracks, you can restore the seamless appearance of your artex ceiling and prevent further deterioration.
Remember, regular maintenance, including addressing new hairline cracks promptly and ensuring proper ventilation in the room, can help prolong the lifespan of your artex ceiling. By taking proactive measures, you can keep your ceiling in excellent condition and avoid any potential complications in the future.
Conclusion
In conclusion, hairline cracks in artex ceilings are a common issue that can be easily repaired. By following the step-by-step process outlined in this article and using the right materials, you can fill the cracks and restore your ceiling’s smooth finish. It is important to address any new cracks promptly to prevent further damage and maintain the structural integrity of your artex ceiling.
If you are unsure about the extent of the damage or if the cracks are recurring, it is advisable to seek professional assistance. A professional painter who specializes in artex ceilings can provide expert advice and ensure a seamless repair.
With proper maintenance and timely repairs, your artex ceiling can remain structurally sound and visually appealing for years to come. Don’t let hairline cracks detract from the beauty of your space, take the necessary steps to restore your ceiling and enjoy a flawless finish.
