Have you ever wondered how to create captivating shadows that amp up the excitement of camping? Who says camping shadows can’t be both fun and educational?
There’s a world of possibilities waiting to be unleashed with the art of shadow puppetry for camping. With a few simple materials and a touch of creativity, you can bring your campfire stories to life and make your camping adventures truly unforgettable.
In this article, we’ll guide you through the process of making your own camping shadow, opening the door to a magical world that combines creativity and nature. From sketching your design to cutting out the pieces and assembling them in a shadow box, you’ll discover everything you need to know to create stunning and mesmerizing shadows that will captivate both kids and adults alike.
So, are you ready to embark on a shadowy adventure under the starry night sky? Let’s dive in and unlock the secrets of DIY camping shadows together!
Step 1: Sketching Your Draft Design
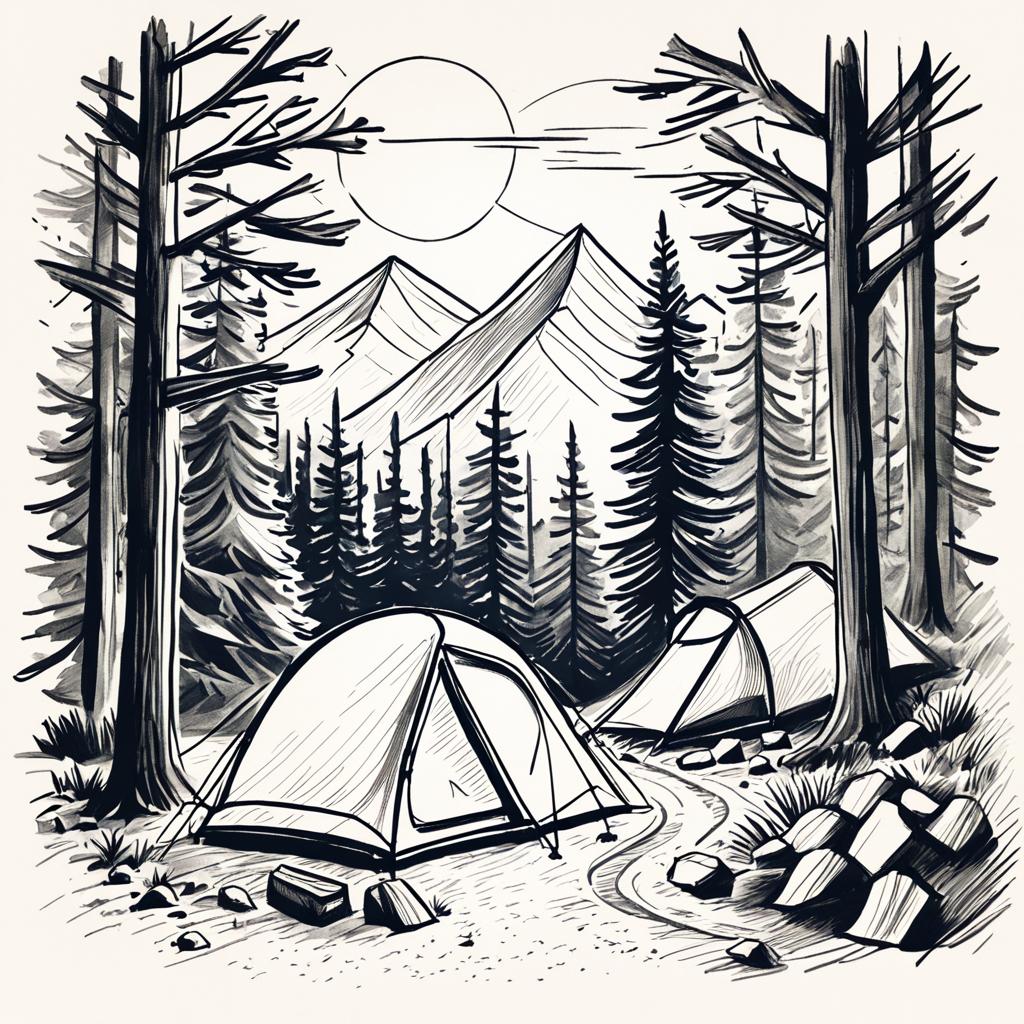
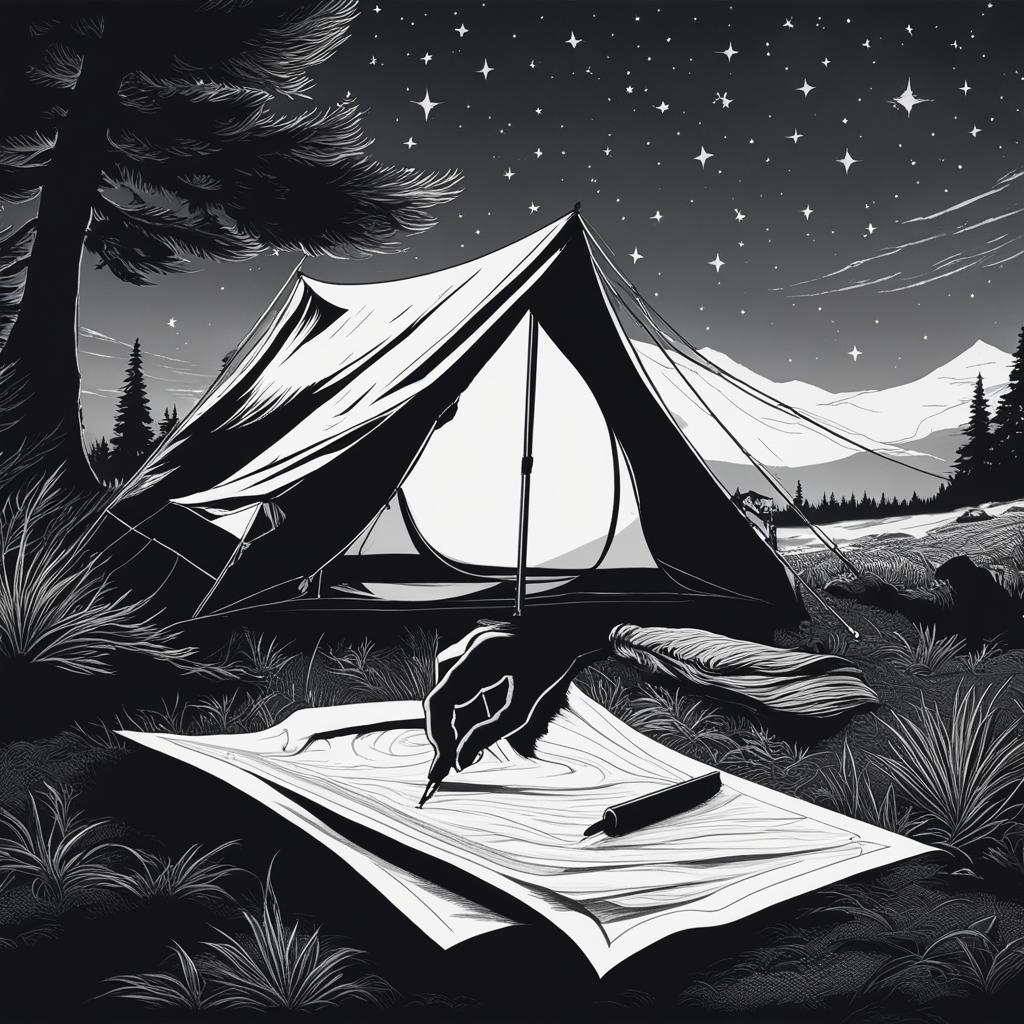
In order to create a captivating shadow for your camping experience, the first step is to sketch a draft design. This crucial step allows you to let your creativity flow and develop an initial concept for your shadow puppetry. By quickly sketching a rough idea of what you want your shadow to look like, you can determine if it aligns with your vision before dedicating more time to its creation.
When sketching your design, embrace the freedom to experiment and explore different possibilities. Whether you prefer a simple or intricate design, the sketch serves as the starting point for transforming your imagination into a tangible creation. Don’t worry about perfection at this stage; instead, focus on capturing the essence of what you want your shadow puppet to represent.
By sketching your draft design, you establish the foundation for an engaging and visually captivating shadow puppetry experience. Let your creativity guide you as you develop the initial concept, laying the groundwork for the next steps in bringing your shadow to life.
Step 2: Drawing Your Design

Now that you have your draft design, it’s time to bring it to life by drawing your final design. This step will allow you to add more details and refine your shadows for a stunning end result.
To begin, choose the size of your shadow box based on the scale of your design. A larger design may require a bigger box to accommodate all the elements. Remember, it doesn’t have to be perfect at this stage, but make sure the main lines are clear and dark enough for easy tracing in the next step.
As you draw your design, take note of the different layers and elements involved. Assign each element a layer number to keep track of the order in which they will be assembled. For example, if your design includes mountains, trees, and a camper, label them as Layer 1, Layer 2, and Layer 3, respectively.
Keep in mind that the more intricate your design, the more time and effort it will require to cut and assemble the shadow puppet. It’s always a good idea to start with simpler designs if you’re new to shadow puppetry, and gradually work your way up to more complex creations.
Once you have drawn your design and identified the different layers, you are ready to move on to the next step: tracing your design onto tracing paper.
Step 3: Tracing Your Design

Now that you have completed your initial drawing, it’s time to trace each layer of your design onto tracing paper. This step is crucial in creating the intricate details and shadows that will bring your shadow puppetry to life.
Tracing your design requires careful attention to both visible and invisible elements. For example, if your design includes mountains in the background, you need to trace them in a way that they connect seamlessly and have enough body to stick onto the next layer. Take your time to ensure that all the elements are accurately traced, including any extra details like snowy caps on the mountains or other intricate patterns.
Using tracing paper allows you to transfer your design onto separate layers, which can then be stacked to create depth and dimension in your shadow puppetry. It’s important to be precise and meticulous during this step to achieve the desired effect.
Here’s a helpful tip: Place a light source, such as a lamp or flashlight, behind your tracing paper to get a better idea of how the shadows will appear once your puppet is assembled. This can help you make any necessary adjustments during the tracing process.
Remember, the tracing process may require some practice, but with time and patience, you’ll master the art of transferring your design onto tracing paper and bring your shadow puppetry to life. Now that you have successfully traced each layer, you’re ready to move on to the next step: cutting your pieces.
Step 4: Cutting Your Pieces
Now that you have traced all your elements, it’s time to bring your shadow puppet to life by cutting out the pieces. Grab a sharp knife and carefully cut along the lines of your design, creating the shapes you want. Take your time and ensure precision as you work through each layer.
Remember to work on one layer at a time and attach the cut-out pieces to their respective layers as you go. You can use different types of glue, such as glue tape or glue dots, depending on your preference. This will help secure the pieces and ensure they stay in place.
While cutting and gluing, feel free to experiment with different colors and elements to make your shadow puppet truly unique. Explore various color combinations and add small details to enhance the overall effect.
Once all your layers are cut and glued together, you can add an extra touch of dimension by using foam spacers or other materials. This will create depth and make your shadow puppet stand out even more. Additionally, consider adding flag lines or decorations to personalize your creation and make it even more special.


