When you’re on the go, the last thing you want is for your ice to melt and your drinks and food to lose their chill. But how can you prevent ice from melting while traveling? Is it even possible to keep your ice solid for longer periods?
In this article, we will reveal some simple but effective tips and tricks for keeping your ice from melting while travelling. From insulating your cooler or ice bucket to choosing the right cooler and pre-chilling your items, we’ve got you covered. We’ll even explore unconventional methods like using large ice blocks and dry ice.
So, are you ready to discover the secrets behind keeping your ice solid during your travels? Let’s dive in and find out!
Insulating Your Cooler or Ice Bucket

One of the most important ways to prevent ice from melting and keep your cooler cold is to insulate it properly. Effective insulation helps maintain the temperature inside the cooler and extend the life of the ice. Here are some insulating techniques you can use:
- Aluminum Foil: Line the inside of your cooler with aluminum foil. The reflective properties of aluminum foil help reflect heat and light that can cause the ice to melt quickly. The foil acts as a barrier, minimizing the transfer of heat into the cooler.
- Thermal Bubble Wrap: Another option to insulate your cooler is to use thermal bubble wrap. This insulating material has air-filled bubbles that create a layer of insulation between the exterior environment and the cooler’s contents. Wrap the bubble wrap around the cooler to keep the hot air out and the cool air in.
- Evaporative Cooling: Consider wrapping a light-colored wet towel around your cooler or ice bucket. As the water evaporates, it cools the surrounding area, including the cooler’s surface. This takes advantage of the natural process of evaporative cooling to keep the inside temperature lower.
By insulating your cooler or ice bucket with materials like aluminum foil and thermal bubble wrap, you can create a barrier against heat transfer and prevent ice from melting for longer durations.
Choosing the Right Cooler
When it comes to keeping your ice solid during your outdoor adventures, selecting the right cooler is essential. The type of cooler you choose can significantly impact the longevity of your ice and the overall performance of your cooling system.
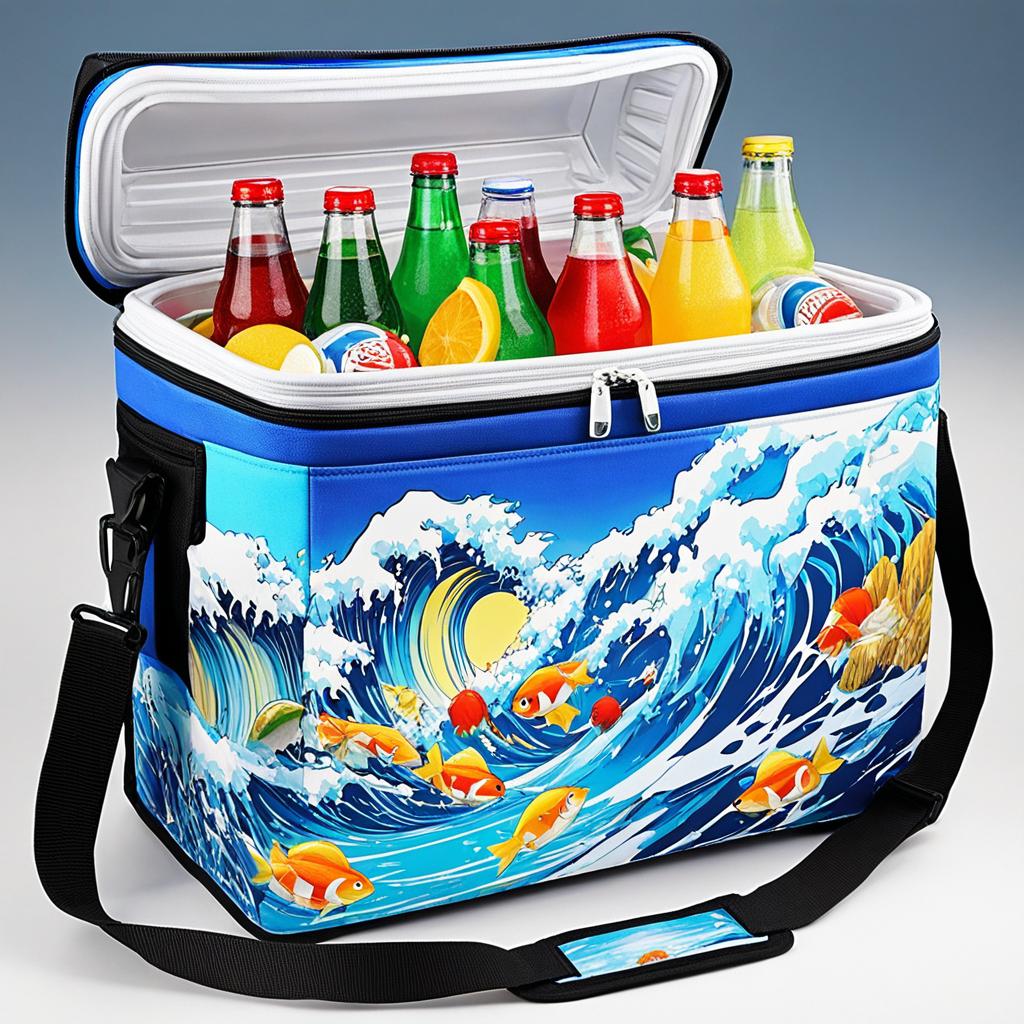
For shorter trips or activities where portability is key, soft nylon and polystyrene foam coolers can provide adequate insulation. These types of coolers offer moderate thermal resistance, helping to keep your ice solid for a reasonable amount of time.
However, if you’re embarking on longer trips or planning to camp overnight, investing in a more durable cooler is recommended. Plastic coolers or hard-sided coolers, particularly those with additional insulation features, can keep your ice cold for extended periods. These coolers are designed to withstand harsher conditions and maintain temperature control, allowing you to enjoy chilled food and drinks days into your adventure.
It’s worth noting that while metal coolers may have an appealing aesthetic, they are not the best choice for keeping ice solid. Metal tends to absorb heat more readily, compromising the insulation and causing your ice to melt faster. Therefore, it’s advisable to steer clear of metal coolers when looking to maximize ice retention.
To help you make an informed decision, refer to the table below for a quick comparison of different cooler types:
| Cooler Type | Insulation Level | Ideal For |
|---|---|---|
| Soft Nylon Cooler | Moderate insulation | Shorter trips, portable use |
| Polystyrene Foam Cooler | Moderate insulation | Shorter trips, lightweight |
| Plastic Cooler | Higher insulation | Longer trips, overnight camping |
| Hard-Sided Cooler | Higher insulation, additional features | Longer trips, rugged conditions |
| Metal Cooler | Minimal insulation | Not recommended for ice retention |
Remember, selecting the appropriate cooler for your intended activity and considering the insulation level can make a significant difference in how long your ice remains solid. Choose a cooler that aligns with your specific needs to ensure optimal cooling performance throughout your journeys.
Pre-Chilling the Cooler and Items
Another effective method to prevent ice from melting is to pre-chill your cooler and items. By pre-cooling, you create a solid foundation for maintaining low temperatures and prolonging the life of your ice.
Start by adding a layer of ice to your cooler a few hours or even a day before your trip. This step helps chill the cooler itself and creates a cold environment that can better retain the ice’s solid form.
But why stop at just ice? Take advantage of the space in your freezer by freezing water bottles or non-carbonated drinks in advance. These frozen items act as additional cooling agents in your cooler, helping to maintain the overall temperature and keep your drinks and food cold for longer.
To maximize your pre-chilling efforts, remember to chill or freeze the food and drinks you plan to pack in your cooler. By starting with chilled or frozen items, you reduce the amount of heat that your ice needs to absorb, ultimately helping it stay solid for a longer duration.
So before you embark on your next adventure, take the time to pre-chill your cooler and items. This simple yet effective step can make a significant difference in preventing the ice from melting and keeping your drinks and food refreshingly cold.
Pre-Chilling Checklist:
- Add a layer of ice to your cooler a few hours or a day before your trip
- Freeze water bottles or non-carbonated drinks to act as additional cooling items
- Chill or freeze the food and drinks you plan to pack in your cooler beforehand
Remember, preparation is key to keeping your ice solid and ensuring a cool and enjoyable experience during your travels.
| Pre-Chilling Tips | Benefits |
|---|---|
| Pre-cool your cooler and items | Creates a cold environment |
| Freeze water bottles or drinks | Acts as additional cooling agents |
| Chill or freeze food and drinks | Reduces heat absorption and maintains overall temperature |
By following these pre-chilling techniques, you can extend the life of your ice, keeping it solid and your drinks and food icy cold for your entire trip.
Using Large Ice Blocks

When it comes to keeping your ice from melting while on the go, the size of the ice blocks you use can make a big difference. Large ice blocks have less surface area exposed to the warmer outside air, resulting in slower melting compared to smaller ice cubes.
To create your own large ice blocks, you can easily use clean, empty milk cartons as molds. Simply fill the cartons with water, leaving some space for expansion, and freeze them. Once the water is frozen solid, remove the cartons and place the ice blocks in your cooler.
While large ice blocks may be bulkier than smaller ice cubes, they will last longer and be more effective in keeping your ice solid throughout your journey. This is particularly beneficial for long trips or camping expeditions where you need your ice to last as long as possible.
| Ice Size | Surface Area | Melting Rate |
|---|---|---|
| Small Ice Cubes | High | Fast |
| Large Ice Blocks | Low | Slower |
Organize Your Cooler for Efficiency

When it comes to keeping your ice solid and preventing it from melting quickly, how you organize your cooler can make a big difference. By employing some simple strategies, you can minimize lid opening and maximize the effectiveness of your cooler’s insulation. Here are a few tips to help you organize your cooler for efficiency:
1. Group Items Strategically
Organize your cooler by grouping items that you will frequently need together. By placing these items on one side of the cooler, you can reduce the number of times you need to open the lid and minimize the introduction of warm air. This strategic packing approach helps maintain a lower temperature inside the cooler and prolongs the life of your ice.
2. Use Dividers or Containers
You can further optimize your cooler’s organization by using dividers or containers to separate different types of items. This not only helps keep your cooler neat and organized but also minimizes the chances of accidentally opening the lid while searching for specific items. Consider using plastic bins or silicone dividers to compartmentalize your cooler and make it easier to access what you need without disturbing the rest of your items.
3. Layer Ice Packs and Food/Beverages
Another effective technique is to strategically layer your cooler with ice packs and food/beverages. Start by placing a layer of ice packs at the bottom, forming a solid and cold foundation. Then, alternate layers of food/beverages and additional ice packs. This layering method helps maintain a consistent temperature throughout the cooler, minimizing the loss of cold air when the lid is opened.
By organizing your cooler for efficiency, you can minimize lid opening and maximize the insulation effectiveness. This helps prevent ice from melting quickly and ensures that your drinks and food stay cold for as long as possible.
Using Dry Ice
When it comes to keeping your ice solid for an extended period, dry ice can be a game-changer. Dry ice, which is the solid form of carbon dioxide, has a significantly lower temperature compared to ordinary water ice. This means it can help maintain lower temperatures in your cooler for longer durations.
To make the most of dry ice, place it at the bottom of your cooler. Make sure to handle dry ice with gloves or tongs as it can cause skin burns. Layer regular ice on top of the dry ice to create a cooling effect. As the dry ice melts, it turns into gas, helping to cool down the regular ice and maintain a lower temperature inside the cooler.
This method of layering dry ice with regular ice can significantly prolong the life of your ice, keeping it solid for an extended period. Furthermore, using dry ice eliminates the need to deal with excess water from melted ice, making cleanup easier and more convenient.
Benefits of Using Dry Ice:
- Keeps the temperature lower inside the cooler
- Prolongs the life of regular ice
- Eliminates excess water from melted ice
- Minimizes the need for frequent ice replacements
Avoiding Counterproductive Measures
When it comes to preserving the ice in your cooler, it may seem counterintuitive, but keeping melted water inside the cooler is actually counterproductive. This is because water acts as a conductor of heat, which accelerates the transfer of heat to the ice and causes it to melt faster. To ensure that your ice lasts longer, it’s crucial to remove the melted water as it accumulates.
By regularly removing the melted water from your cooler, you can slow down the melting process and keep your ice solid for a longer period of time. This simple step can significantly prolong the lifespan of your ice and help maintain the desired temperature inside the cooler.
To prevent the transfer of heat and the subsequent melting of ice, it is essential to keep the interior of your cooler as dry as possible. This can be achieved by routinely draining any excess water and wiping down the interior surfaces.
Remember, to maximize the effectiveness of your cooler and prevent ice from melting too quickly, always remove the melted water. This small action will have a big impact on maintaining the freshness and chill of your food and beverages while on the go.
FAQ
Q: How can I prevent ice from melting while travelling?
A: By following a few simple tips and tricks, you can prevent ice from melting for longer periods while on the go. These methods involve using insulating materials, strategic packing techniques, and creating optimal conditions for preserving ice.
Q: How can I insulate my cooler or ice bucket?
A: One of the most important ways to keep your cooler cold is to insulate it properly. You can line the inside of the cooler with aluminum foil, which helps reflect heat and light that can cause the ice to melt quickly. Another option is to use thermal bubble wrap to keep the hot air out and cool air in. Additionally, consider wrapping a light-colored wet towel around the cooler or ice bucket to take advantage of evaporative cooling.
Q: What type of cooler should I choose?
A: The type of cooler you choose can affect how long your ice stays solid. Soft nylon and polystyrene foam coolers provide moderate insulation and are suitable for shorter trips. However, for longer trips or camping overnight, investing in a more durable plastic cooler or a hard-sided cooler can keep your ice cold for much longer. It’s best to avoid metal coolers, as they tend to absorb heat more easily.
Q: How can I pre-chill the cooler and items?
A: To prevent ice from melting, consider pre-chilling your cooler and items. Before packing fresh ice, add ice a few hours or even a day in advance to chill the cooler as much as possible. Freezing water bottles or non-carbonated drinks can act as additional cooling items that help preserve the ice. It’s also crucial to chill or freeze the food and drinks you plan to place in the cooler beforehand to maintain the overall temperature.
Q: Should I use large ice blocks instead of small ice cubes?
A: Yes, using large ice blocks is a more effective method to prevent ice from melting. Larger ice blocks have less surface area exposed to the warmer outside air, resulting in slower melting compared to smaller ice cubes. You can easily make your own DIY ice blocks by using clean, empty milk cartons as molds. Fill the cartons with water and freeze them. Once frozen, remove the cartons and place the blocks in your cooler. Though bulky, they will last longer and be more effective in keeping your ice solid.
Q: How can I organize my cooler for efficiency?
A: Opening and closing the cooler lid frequently introduces warm air, causing the ice to melt more quickly. To minimize lid opening, organize your cooler with items that you will frequently need on one side. By strategically packing your cooler, you can reduce the time the lid remains open and make each opening as efficient as possible.
Q: How can I use dry ice to prevent ice from melting?
A: Dry ice, the solid form of carbon dioxide, has a much lower temperature than ordinary water ice. By placing dry ice at the bottom of your cooler and layering it with regular ice, the dry ice helps cool down the regular ice and turns into gas as it melts. This method prolongs the life of the ice while leaving no excess water to clean up after.
Q: Is it counterproductive to keep melted water in the cooler?
A: Yes, keeping melted water in the cooler is counterproductive. Water acts as a conductor of heat, facilitating the transfer of heat to the ice and causing it to melt faster. It’s crucial to remove the water as it accumulates, ensuring that the ice melts at a slower rate.
