Are you struggling to transfer files from your Kingston DataTraveler to your Mac? Formatting your USB flash drive is the key to ensuring seamless compatibility and smooth file transfer. But with so many options and file systems available, it can be overwhelming to know where to begin.
What if we told you that formatting your Kingston DataTraveler for Mac doesn’t have to be a daunting task? In this comprehensive guide, we will break down the process for you step-by-step, taking away the confusion and empowering you to format your Kingston DataTraveler with ease.
No more struggling with incompatible file formats or encountering errors when trying to access your files. By following our expert advice, you’ll be able to optimize your Kingston DataTraveler for Mac and make the most out of its storage capacity.
Let’s dive in and discover the secrets to formatting your Kingston DataTraveler for Mac. Are you ready to take control of your file transfer experience? Let’s get started!
Understanding Formatting and File Systems
Before we dive into the formatting process, it’s important to understand what formatting entails and the different file systems available. Formatting a storage device creates a filing system that organizes your data and allows for optimal performance.
There are various file systems commonly used in USB flash drives, including FAT32, exFAT, NTFS, Mac OS Extended, and APFS. Each file system has its own advantages and compatibility with different operating systems.
Let’s take a closer look at these file systems and their features:
| File System | Advantages | Compatibility |
|---|---|---|
| FAT32 | Wide compatibility, support for small file sizes | Windows, Mac, Linux, gaming consoles |
| exFAT | Large file support, better compatibility with newer devices | Windows, Mac, Linux, Android, gaming consoles |
| NTFS | Advanced security, support for large file sizes | Windows (read-write), Mac (read-only with additional software) |
| Mac OS Extended (HFS+) | Native file system for macOS, support for macOS extended attributes | Mac (limited compatibility with other operating systems) |
| APFS | Optimized for SSDs, advanced data integrity, encryption | Mac (macOS High Sierra and later) |
Understanding the file systems and their compatibility is crucial when formatting your Kingston DataTraveler. In the next section, we will explore the step-by-step process of formatting your USB flash drive on a Mac using the appropriate file system.
Formatting Your Kingston DataTraveler on Mac

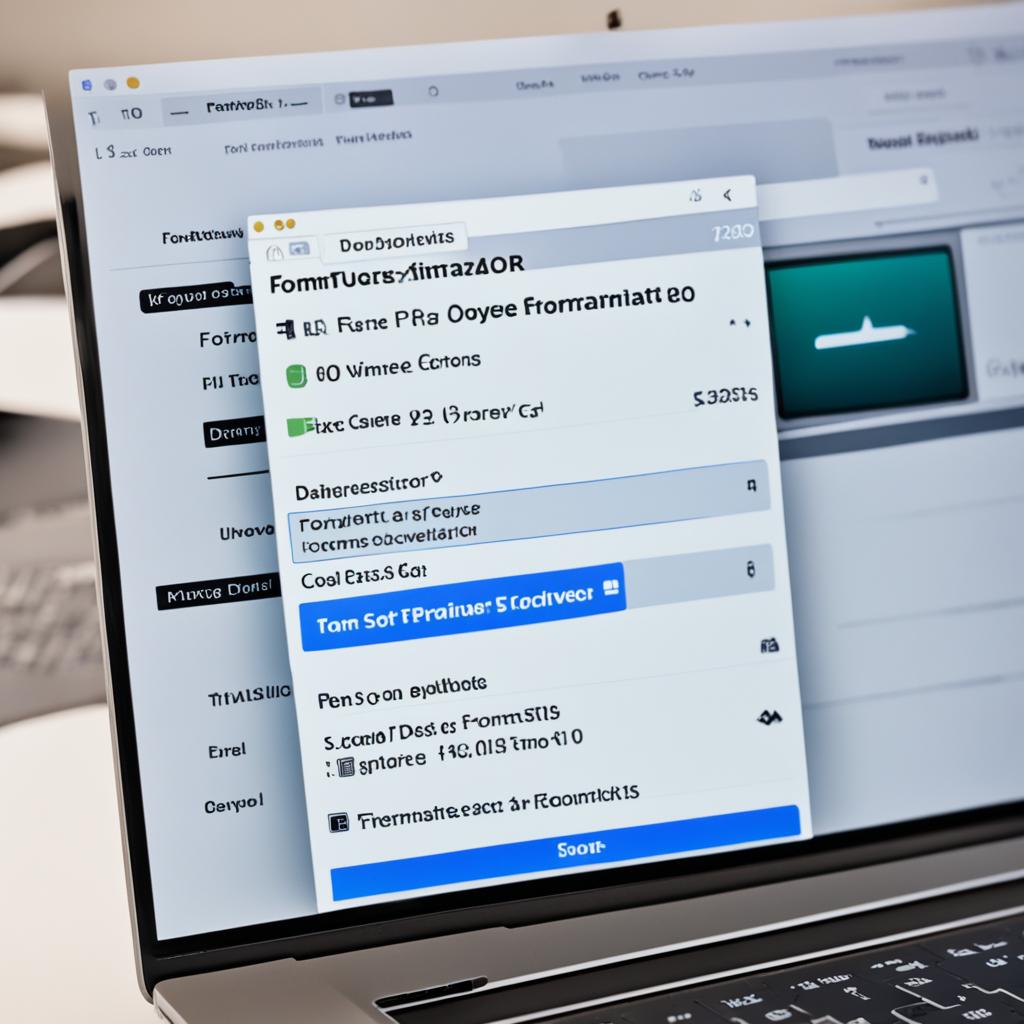
Now that you have a clear understanding of file systems, let’s proceed with the formatting process for your Kingston DataTraveler on a Mac. Follow the steps below to format your Kingston DataTraveler:
-
Connect your Kingston DataTraveler to your Mac using a USB port.
-
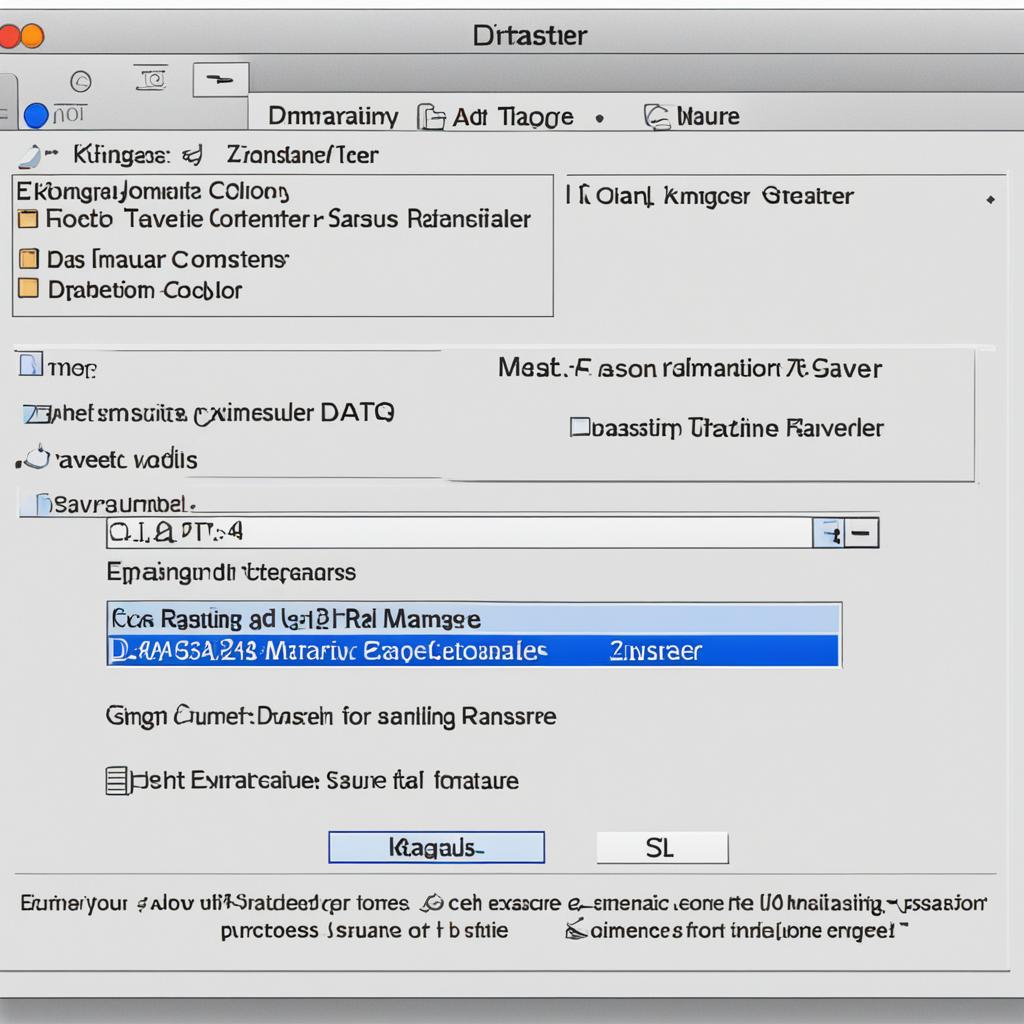
Open the “Applications” folder on your Mac and launch the “Disk Utility” program.
-
In the left sidebar of the Disk Utility window, locate and select your Kingston DataTraveler. Make sure to select the correct drive to avoid formatting the wrong device.
-
Click on the “Erase” tab at the top of the Disk Utility window.
-
Choose a compatible file system for your needs. For maximum compatibility with both Mac and Windows systems, select “exFAT” as the file system. If you only intend to use the Kingston DataTraveler with Mac devices, choose “Mac OS Extended (Journaled)” or “APFS” as the file system.
-
Enter a name for your Kingston DataTraveler in the “Name” field. Choose a name that is descriptive and easy to remember.
-
Click on the “Erase” button to start the formatting process. Please note that this will erase all data on your Kingston DataTraveler, so make sure to back up any important files beforehand.
-
Wait for the formatting process to complete. The time it takes will depend on the size of your Kingston DataTraveler.
-
Once the formatting is finished, you will see a confirmation message. Your Kingston DataTraveler is now formatted and ready for use with your Mac.
Formatting your Kingston DataTraveler on a Mac is a straightforward process that ensures compatibility and optimal performance. By following these steps, you can easily format your Kingston DataTraveler to suit your needs.
File Systems Comparison
| File System | Advantages | Compatibility |
|---|---|---|
| FAT32 | – Wide compatibility with various operating systems – Can be read and written by Mac and Windows |
– Limited to individual file size of 4GB – May have performance issues with large drives |
| exFAT | – No file size limitations – Compatible with Mac and Windows |
– Limited compatibility with older Mac and Windows versions |
| NTFS | – Allows for file and folder permissions – Supports larger file sizes |
– Read-only on Mac without third-party software |
| Mac OS Extended | – Designed for macOS – Supports journaling and file permissions |
– Incompatible with Windows without additional software |
| APFS | – Designed for macOS High Sierra and later – Provides enhanced performance and security |
– Limited compatibility with older macOS versions and Windows |
Advanced Formatting Options and Data Erasure

In addition to basic formatting, there are advanced options you can explore for your Kingston DataTraveler. If you need to permanently erase all data on your drive or fix logical errors, you can utilize specialized software like AweCleaner for Mac or AweEraser for Mac. These tools offer additional features such as securely wiping data and formatting the drive. However, please note that data erasure is irreversible, so make sure to back up any important files before proceeding with this option.
By using advanced formatting options, you can optimize the performance of your Kingston DataTraveler and ensure that sensitive or confidential data is completely removed from the drive. Whether you are preparing the drive for reuse or disposal, advanced formatting options provide a secure and efficient solution.
To access advanced formatting options and data erasure features:
- Connect your Kingston DataTraveler to your Mac.
- Open the specialized software you have chosen, such as AweCleaner or AweEraser.
- Select the Kingston DataTraveler from the list of available drives.
- Follow the software’s prompts to choose the desired erasure method and formatting options.
- Confirm your selections and begin the erasure process.
Once the advanced formatting process is complete, your Kingston DataTraveler will be ready for any future data storage needs or sensitive data disposal. Remember to always keep a backup of any important files to prevent data loss during the formatting and erasure process.
Backing Up and Recovering Data
Before formatting your Kingston DataTraveler, it’s crucial to back up any important data to ensure its safety. Accidents can happen during the formatting process, and without a backup, you may risk losing valuable files. To create copies of your files, you can rely on top-rated backup software like Get Backup Pro or ChronoSync Express. These tools allow you to easily back up your data onto another storage device or in the cloud, providing you with an added layer of security.
In the unfortunate event of data loss, don’t panic. Tools like Disk Drill can assist you in recovering lost files from your Kingston DataTraveler or other storage devices. With its powerful scanning capabilities, Disk Drill can identify and restore deleted or inaccessible data, giving you a chance to retrieve what you thought was lost forever. Just remember to stop using the affected drive immediately to maximize the chances of successful data recovery.
By implementing a comprehensive backup and recovery strategy, you can safeguard your data throughout the formatting process and beyond. Remember, prevention is always better than cure when it comes to data loss. So, before you proceed with formatting your Kingston DataTraveler, take a few moments to back up your important files and consider investing in reliable backup software. With the right precautions in place, you can confidently navigate the formatting process while protecting your valuable data.


